 |
| The beautiful, the barbaric, the most buxom! |
 |
| Three of five... |
Materials needed:
-White paintable fabric (I used yet more of the light denim I bought for the spats)
-Fusible interfacing
-Fabric paint (I used the 3D kind for the large patch, acrylic paint and fabric medium for the rest)
-White thread
First, the design on Moxxi's back. It took a little effort to understand and sketch out the back patch in order to get the proper proportions for the design. I worked on paper until I had it fully figured out, then moved on to fabric. I've broken in down in illustration for anyone who may follow in my footsteps:
 |
| Trippy, I know. |
 |
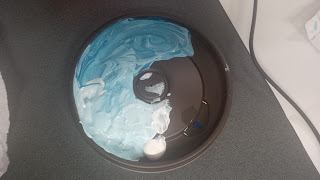
| Bluey! |
 |
| Not bad... My mantra became "It was just drawn that way" |
 |
| Back and Front |
 |
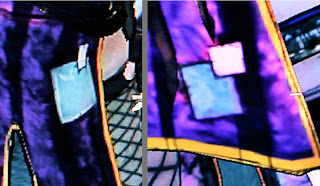
| Forgot to add these at first - oops! Final product! |
Et voila! The jacket was patched up and ready to go! Because I'm away from home (and the ability to take any pictures) I won't make any promises on what will come next or when, but if I was committed enough to make the darn costumes (and you're committed enough to read about it) I WILL get all the details posted sooner or later! Come on, someone needs to know my pain!
My Moxxi-tacular Cosplay tutorials so far:
Part 1 - Spats
Part 2 - Finding Fabric and Starting the Jacket
Part 3 - Jacket continued, Stripes and Zipper
Part 4 - Cuffs and Collar
Part 5 - Buttons


Hey there!
ReplyDeleteI'd like to echo everyone else's comments on this series of Blogs (as much as this may seem ages ago for you now). Your in-depth coverage of what you did is so useful to anyone else cosplaying. I will be attempting to make a Moxxi costume (my first ever!) soon and I will definitely benefit from reading this, Thank you! :-)